Brussels Sprouts : Tips from Seed to Harvest
These nutritious miniature cabbages are often under celebrated and even disliked. Don’t give up on them just yet!
It is well worth noting that often store bought Brussels sprouts are picked too early, and it shows in their bitter flavor and tough texture. Picking them fresh from the farm or garden after a few frosts sweetens the flavor and makes them tender, offering a whole different experience!
Try them roasted, along with some other yummy fall veggies.
A Little History
As the name suggests these mini cabbages were first cultivated in Brussels. Like broccoli, its ancestors first grew wild in the low countries of Europe. The Belgians were the first to select the plant for its enlarged auxiliary buds.
Nutrition Facts
Brussels contain high amounts of vegetable protein and carbohydrates.
Growing Conditions
Brussels Sprouts are a cool weather crop that grow best at around 60-65° F. They are one of the last crops left in the garden and can even survive through the winter if the conditions are favorable. Generally treated like broccoli or cauliflower, Brussels sprouts prefer well-drained soil and do not require excessive nutrients. Too much nitrogen will make for lots of leaves but not so much on the sprouts. They want regular and generous watering (brassicas in general like having wet leaves, so water freely). Harvest usually begins around mid October and can go through the winter some years if you are just harvesting individuals sprouts rather than whole stalks.
Timing the Crop
Plant by seed in early April, usually indoors to allow for the best germination. Mid-May is about right for transplanting starts in to the garden in our climate. They don’t really like the heat but will survive through our hot summers, yielding a delightful harvest very late in the season. Exposure to a few frosts enhances the flavor of the sprouts.
Pruning Tricks
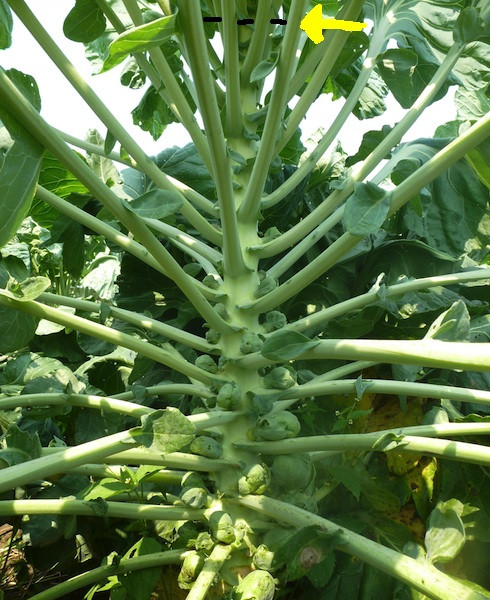
If any of the lower leaves of the plant show any yellowing, at once strip them off. (By the way: the younger, tender leaves can be cooked up much like collards or turnip greens, if that’s your idea of a good time.) Some growers remove all leaves to accelerate harvest, but that practice is not essential in the home garden, and not practical for us on the farm. Some believe that the sprouts develop better if the lowermost six to eight leaves are removed from the sides of the stalk as the sprouts develop. Two or three additional leaves can be removed each week, but several of the largest, healthiest, fully expanded upper leaves should always be left intact on top to continue feeding the plant. Another practice is topping, or cuttiing off the growing tip of the plant when the sprouts are present but immature. See photo above for an example of where to cut. Some sources say that is not critical for home growers, but others swear that it is utterly essential for good production. Late August to mid September, or 3 weeks before the first harvest, is the best time to prune the tops in our region. The reason for doing it is to send the remaining energy of the plant in to sizing up your sprouts rather the in to creating new leaf growth. We do prune the tops of our sprouts in September.
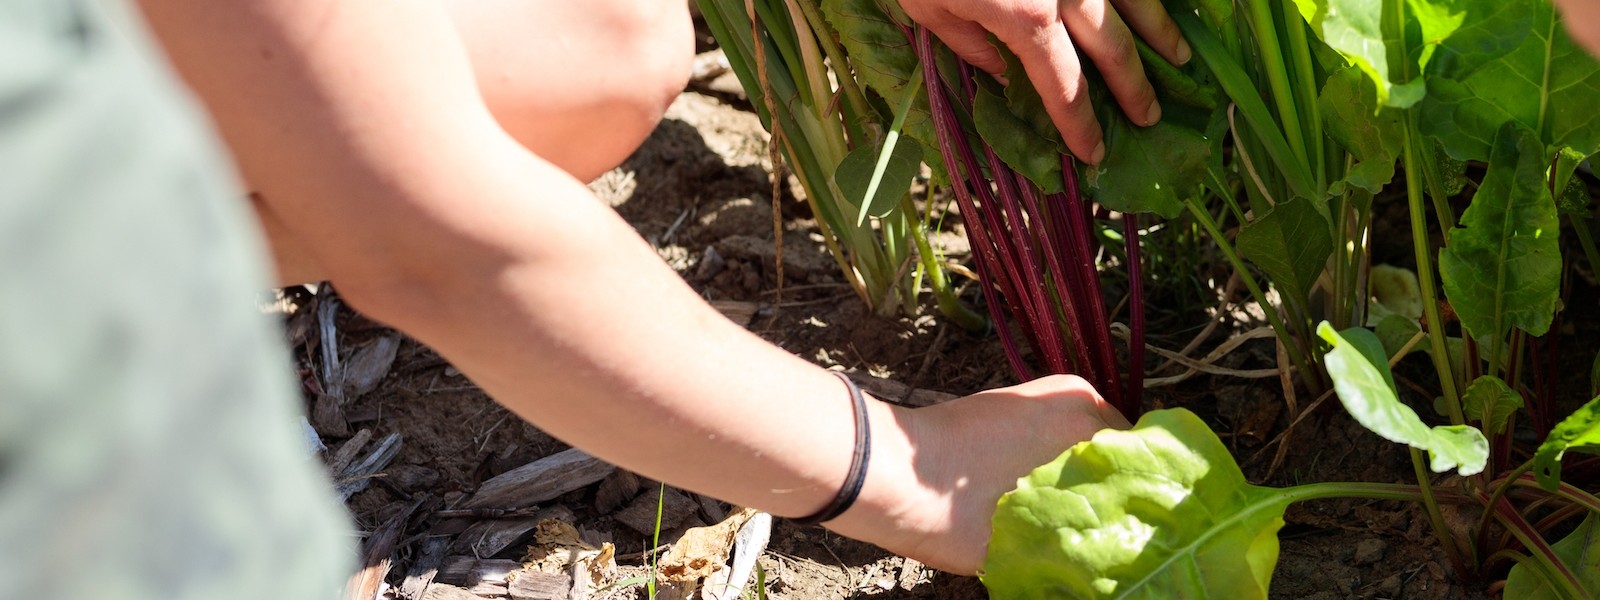
Harvesting
As the sprouts come ready, harvest them from the bottom up, which is how they mature (the all-at-once harvesting of agribusiness is one reason store-bought samples taste so bad). Keep them picked and they’ll grow more! Harvest sprouts in the home garden after the first or second frost, taking just those sprouts which are big enough, starting from the bottom up. Continue harvesting for as long as you can find more to pick, which might even be well into snow season. Once plants begin to set sprouts, they can become a bit top-heavy and could be prone to wind damage (or even be blown over). Many suggest staking the plants or hilling up soil around the stems to support them; we have never had any problem with unstaked plants here at the farm.
Overwintering and Storing
Brussels can be overwintered in the garden, right on the stalk. They need to be mulched, or covered with a structure wrapped with burlap, before the hard freeze. Mulching helps to keep them at an even temperature and prevents the constant thaw/freeze which promotes rot. For mulch you can pile straw or hay in a mound around the plants, and/or cover with a cardboard box or a similar structure used for covering shrubs in winter. Some years, the snow falls perfectly to make this happen naturally. When the snow falls deep before a freeze, it forms an insulated refrigerator right around your plants! To store Brussels sprouts, keep them in the fridge for at least a few weeks. Remember to cull the yellowed or blackened leaves often, and give the bottom (stalk end) a fresh cut. Compost all those food scraps!
Interested in learning more? The Grower’s Library at Johnny’s Selected Seeds may have the information you’re looking for.